Tuesday, August 23, 2011

Water Babies


So this post isn't going to be about a favorite recipe, or how to make your own curtains.  I'm not going to gush about my garden or even sing the praises of the homeschooled experience.  I doubt there will be many pictures to post...

 Nope,  today I have baptism on my mind.  In fact... I woke up at 5:30 this morning with baptism flooding my brain (pun intended).  Here is how it started.

I woke with a verse in my head.  "Be still and know that I am God." (Psalm 46:10).  Be still... be passive... and know that I am God... that I am active.  It made me remember my baptism.

I was baptized in infancy in the Catholic church.  Somewhere between then and my preschool years, my mother left the Catholic church and began to attend a church that didn't practice infant baptism.  But I still "remember" my baptism.  I do this by remembering my passive state and God's activity in my baptism:

I was still, and He was God.  I was held, without my consent or willing participation, over a font of water.  A priest, appointed by the church with the responsibility of bringing God's Word to His people, sprinkled water over my head and spoke God's active Word over me: "In the name of the Father, and of the Son, and of the Holy Spirit". The Holy Spirit then took me, made me His own, and began the work of faith (salvation) within me.

Then I thought of Job.  I thought about all that had happened to him.  And I thought about when he questioned God... and how God gave him this verbal smackdown:

"Where were you when I laid the foundation of the earth?
     Tell me, if you have understanding.
Who determined its measurements
     ---- surely you know!
Or who stretched the line upon it?
On what were its basses sunk,
    or who laid its cornerstone,
when the morning stars sang together
   and all the sons of God shouted for joy?
Or who shut in the sea with doors 
  when it burst out from the womb,
when I made clouds its garment
   and thick darkness its swaddling band,
and prescribed limits for it
and set bars and doors,
 and said, 'Thus far shall you
 come, and no farther,
and here shall your proud waves be stayed'?"
Job 38: 4-11

.... you get the idea... this tongue lashing goes on for a while, and you begin to understand just how active God is... and how passive we are.  And I am reminded that this is a good thing.

We read in Genesis the account of creation.  We are told there was a void, darkness, chaos.  God speaks His Word, and life is created.  And what was our role in this act of creation?  We had none. Our salvation is no different.  I was brought to the baptismal font by those who had faith.  I was dead in my sin, cognitively unable to make any kind of decision; dark, chaotic, void.  But through the spoken Word of God and the washing through water, God created faith in me and gave me life.  I was passive, He was active.

Then I started to think about all the ways Christians attempt to be active in redemption; justification; salvation.  Like Job, we make ourselves the center of what's happening... I thought of familiar phrases I hear many Christians use.
"I gave my life to God."
"I asked Jesus into my heart."
"I have decided to follow Jesus."
"I made a commitment to Christ."

I got to thinking about the ramifications of a doctrine that puts our action as the center of our faith instead of acknowledging we are passive in our justification.  I thought about how damaging it is to make salvation about the words I speak, instead of  about the Word that God speaks. Scripture tells me in Eph. 2:1 that I am dead in my sins and trespasses.  So how does a dead man speak?  or think? When I decide that salvation can only come through my understanding, I am contradicting scripture.  Salvation doesn't depend on my intellect, or my cognitive ability.  It doesn't come after I fully understand the weight of my sin and my need for a savior.  In fact, it is only AFTER faith is received that a sinner can recognize his sinful state.  A dead man's heart doesn't begin to beat until AFTER his heart is started again.  Faith starts our heart... and faith is given through God's Word.  Baptism is God's Word.

...So, I woke up this morning remembering my Baptism.  Thanks be to God. Amen.

Maybe tomorrow I will wake up thinking about Holy Communion ;)


Ephesians 2:8-10

English Standard Version (ESV)
8For by grace you have been saved through faith. And this is not your own doing; it is the gift of God, 9 not a result of works, so that no one may boast. 10For we are his workmanship, created in Christ Jesus for good works, which God prepared beforehand, that we should walk in them.


Saturday, August 20, 2011

Ready for the oven.
Lasagna Rollups

Lasagna is one of my favorite meals to eat, but not so much to make.  I have watched oodles and noodles of teevee chefs make their version of this classic Italian dish in hopes of discovering an easier way... then --Giada.   Yes, THEE Italian cheftress did it.  And what did she do that was soooo great?  She ROLLED the noodles.  That's it.

Well, to be fair, she does her little "Giada magic" using fresh pasta and prosciutto pronouncing it all in her oh-so-authentic Italian accent.  Yeah, well, I'm Irish, so it's not gonna happen.

So this is my take on Giada's recipe. If you're just dying to try her version.. humpf... here's a link to her recipe.  Giada's Lasagna Roll-ups

Make Lasagna noodles according to package directions... You want them flexible, but not all the way done.  Work fast at the rolling part, or the cooled lasagna might get inflexible.

Cheese filling:

1 package of frozen chopped spinach- thawed and squeezed dry
1 container of small curd cottage cheese (or ricotta)
1 tsp. garlic powder
1/4 tsp. nutmeg
couple of handfulls of grated Parmesan/Romano cheese
2 eggs beaten

mix all the ingredients and set aside

My easy "doctored" sauce:
  • Heat some olive oil in a skillet; soften some diced sweet onion and green pepper.
  • Add a drained can of petite diced tomatoes.  
  • Sprinkle in some Italian seasoning and garlic--either chop the garlic fresh, sprinkle in some garlic powder or squeeze in the ready minced stuff... I've done it all! 
  • Now, what I normally do is just open a can of Hunts ready made spaghetti sauce.  You could just use plain tomato sauce, but I like the extra seasonings.  Let this simmer for a while.   
When the noodles are ready:

  • Spoon some sauce in the bottom of your lasagna pan. (13x9)
  • Take the lasagna noodles out of the water and let them cool slightly. -I usually lay them across some parchment paper over a kitchen towel. 
  • Spoon the cheese filling onto the noodle  and roll up.  
  • Place rolled lasagna seam-side down into baking dish. (You could also stand them on edge. This is pretty, but they don't stay rolled as well as laying them flat)
  • Continue until baking dish is filled with rolls.
  • Pour the rest of the spaghetti sauce over the lasagna rolls and top with shredded mozzarella.


Bake in a 350 degree oven for 30 or 40 minutes.

If you're worried about the cheese burning, spray a piece of aluminum foil with cooking spray and loosly put it spray side down over your baking dish.  The spray keeps the cheese from sticking to the foil.

Enjoy!

Friday, June 17, 2011

Looky Loo!

Hey guess who has a new bathroom???  Oh yeah!
BEFORE:
Gotta love a wooden toilet seat... not.
 AFTER

So this wasn't a total remodel.  More like an updating.  My dream would be to install a shower, but for now making the tub look more appealing will have to do for our guests.    The floor, while not in the greatest condition is at least a neutral pattern.    

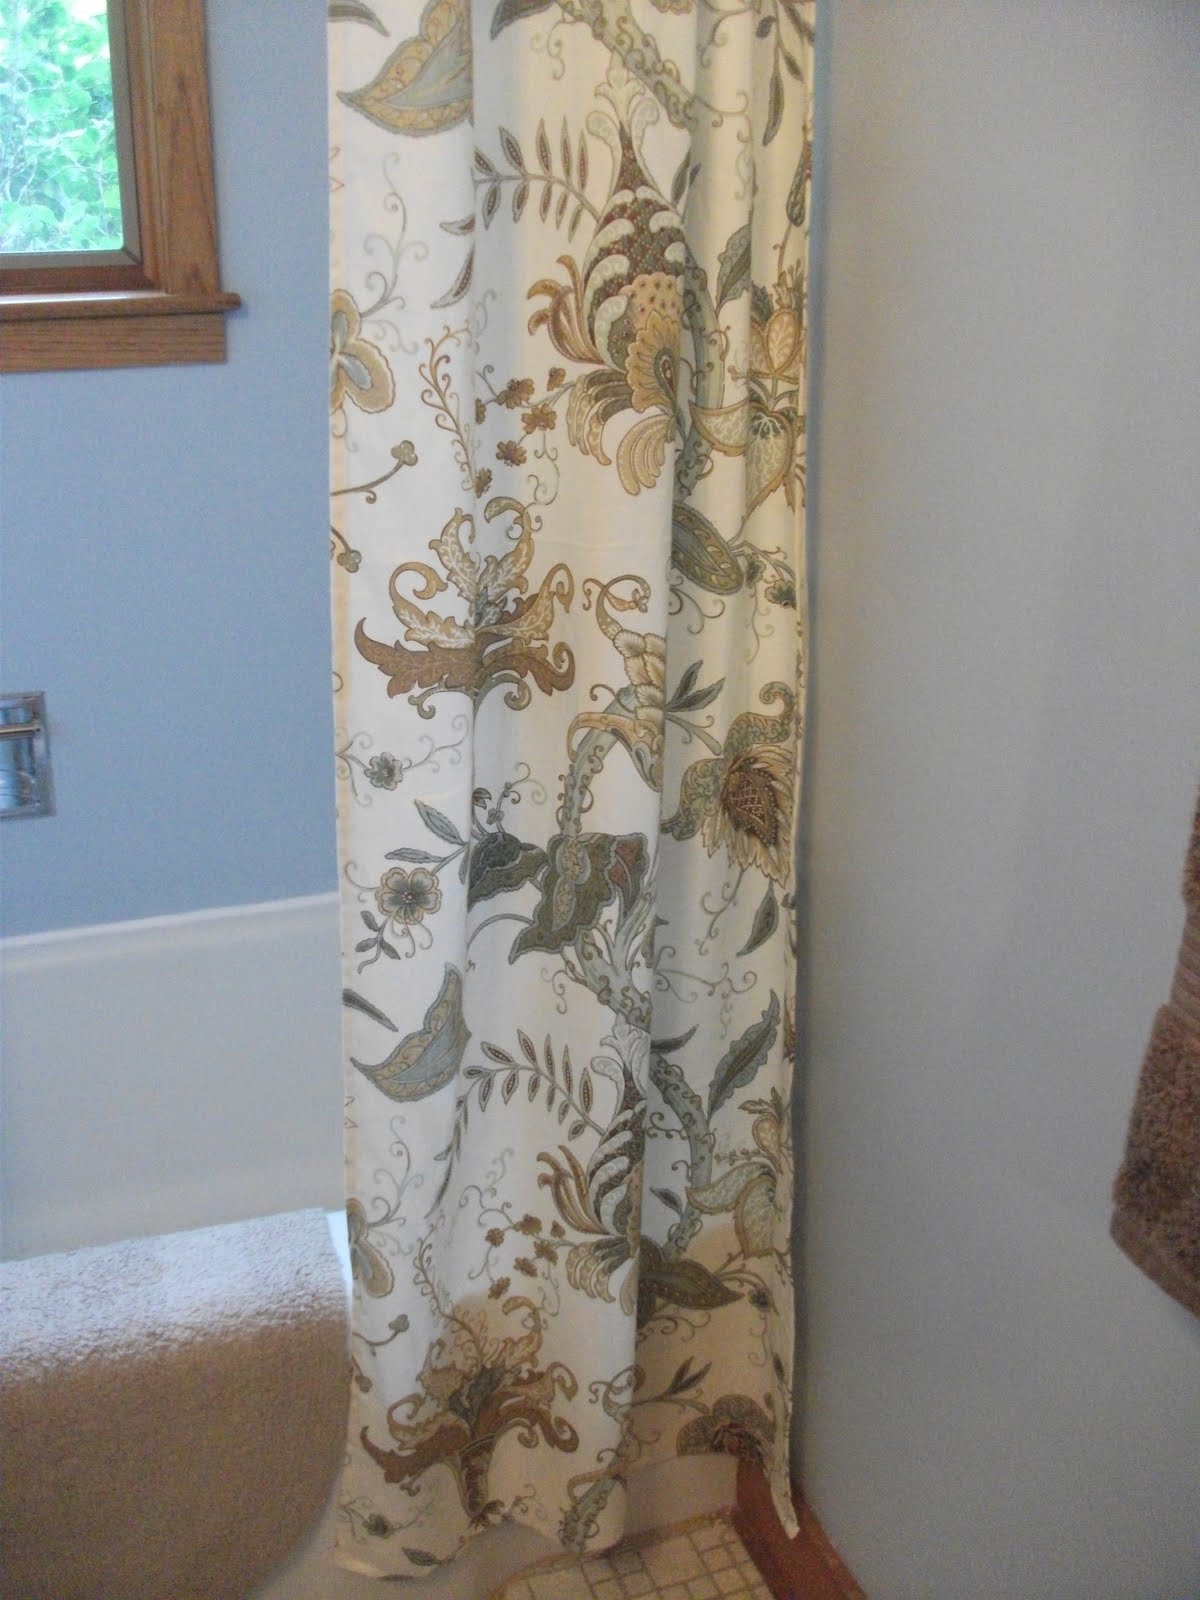
This bathroom was designed around the fabric I bought for the shower curtain.  I looked everywhere for a ready-made curtains that fit my vision, and it was only when I searched for fabric online that I found this beautiful pattern. It was a bit expensive, which is why I decided to make two smaller panels instead of one long curtain.  I mean... c'mon, there isn't even a shower... it's a TUB.  I also like the way two panels frames the window leaving no reason for window coverings... so really, I saved money... right??

The fabric.  I had serious trouble with the fabric
company, so I refuse to post a link to their site.
I simply pressed the edges of the fabric 1/4 in. then
 1/4 in. again and hemmed it. At the top I used a wider hem
 and I ironed fusible webbing up at the top to give some
 strength to the fabric, then had my machine do button
holes for the curtain rings.

I matched the paint to the fabric.  I LOVE LOVE LOVE this color.  It is Martha Stewarts "Ice Rink".   THE best color for a bathroom.  You walk in and never want to leave.  It's beautiful. 
The chrome fixtures just give such a crisp and clean feel, I'm really happy with them.  Because I didn't want it to feel too industrial or cold, I went with a more feminine looking chrome.   

Vanity and sink combo. found at Home depot.
Really reasonable from the St. Paul collection.


The chrome finishings were bought at Home Depot.  The hand towel hook is actually the robe hook, but I liked the look of this better.


The tub needed some serious re caulking.  We pulled
away the old yellowing caulk strip and reapplied a
clean white silicone caulking.  This is where my years
 as a cake decorator come in handy ;)


We kept the medicine cabinet because it
would have been a pain to remove...
 it works.
These lights are sufficient, not my favorite,
but a girl's gotta stay within her budget.


Sunday, May 22, 2011

Blue Bag

So, I decided to attempt the Flower burst bag according to directions.  While I followed them more closely this time, this bag is not without errors... for sure! But it is much closer to the original pattern.  It ended up being shorter than the other one I made, but very cute.

Flower Burst in blue


I also added a simple coin purse to go with the bag.  To make the coin purse, I just chained 17, then starting with the second chain from the hook, I hdc in each chain.  I put a second hdc in the last chain and stitched hdc along the other side of the chain.  When I got to the end and back to my first hdc, I did NOT connect.  I just stitched a hdc in the first hdc.  I continued in a round until the coin purse was the size I wanted.  To make the flap, I switched colors and turned.  I hdc across the back, turned, then stitched two hdc together (decrease).  I did this at the end of the row as well. Continue back and forth being sure to decrease at the beginning and the end of each row until it was the length and shape I wanted: like an stationery envelope.  I realize that if you don't crochet, this last paragraph makes absolutely NO sense... and even if you do crochet... it might not make sense! I never professed to be a pattern maker, that is for sure!


For the embellishments I simply crocheted another flower like the ones on the bag and attached it to the flap of the coin purse.  I added a little loop under the flower to catch the button that I stitched on with thread.  Lining the the coin purse was a sinch. Just fold a rectangular piece of fabric in half and use the purse as pattern.  Stitch the sides and leave the folded edge alone and the open end... open.   Put it in the coin purse and fold over the fabric edges at the top. Stitch along the edges of the fabric to the yarn.  There ya go.

I decided to also line the bag with fabric.  I don't like the idea of my keys, pens, and whatever else poking through between the stitches, and since I was making this for someone, I really wanted it to have a finished look to it.


This material was used in making aprons several years ago.
I'm so glad I keep scraps!!
I wish I could describe how I lined the bag... but even I'm not sure how I did it.  I tried to just think about the shape of the inside.  This bag has a base, so I did make a base and then stitched two other pieces of fabric to the base and to themselves.  This really was just done by trial and error.  It doesn't need to be perfect as it just sits in the bag.  Try not to over think it! Obviously, the important thing is to remember that the printed side of the fabric needs to be seen in the bag.  ;)  I folded over the fabric at the top, pinned it in place and stitched it right to the yarn.  
Another added bit was the "lanyard" type dealie that I crocheted in order to keep the coin purse connected to the bag.  I just chained and stitched single crochets up and down the chain, making a loop at the end.  I fastened a key ring to the end of the lanyard and attached the clip to the coin purse.  


Like I said before, this is a gift.  I made it for my mom in law, Pat.  She'll be over tomorrow and I'll get to give it to her :)

What's the best part about crocheting?

... getting to give the stuff away.

Friday, May 20, 2011

Too Much Chocolate??

Is there even such a thing as "too much chocolate"?? I seriously doubt it.

I came across this recipe for "Almost Too Much Chocolate Cake" online, and I must admit, it hooked me.  I recently made it for a friend's birthday and it really was as good as it looked, but I can hardly say it was "too" much :)

The site I found the recipe on was Make it and Love it.  However, I believe someone else is to be credited as the author/baker.  Either way, this is one recipe that will be repeated in the Pool household.
Find the Recipe HERE

Here is my quest for too much chocolate ;)

I followed the recipe and found the batter to be really rich and thick.  This was great as I was concerned that the chocolate chips might fall through a thinner batter.  This way, they will stay in the center and not sink to the bottom of the cake pan when baking. 


 One thing I recommend: weigh your cake pans as you fill them. 
 This ensures that you will have evenly sized layers.  


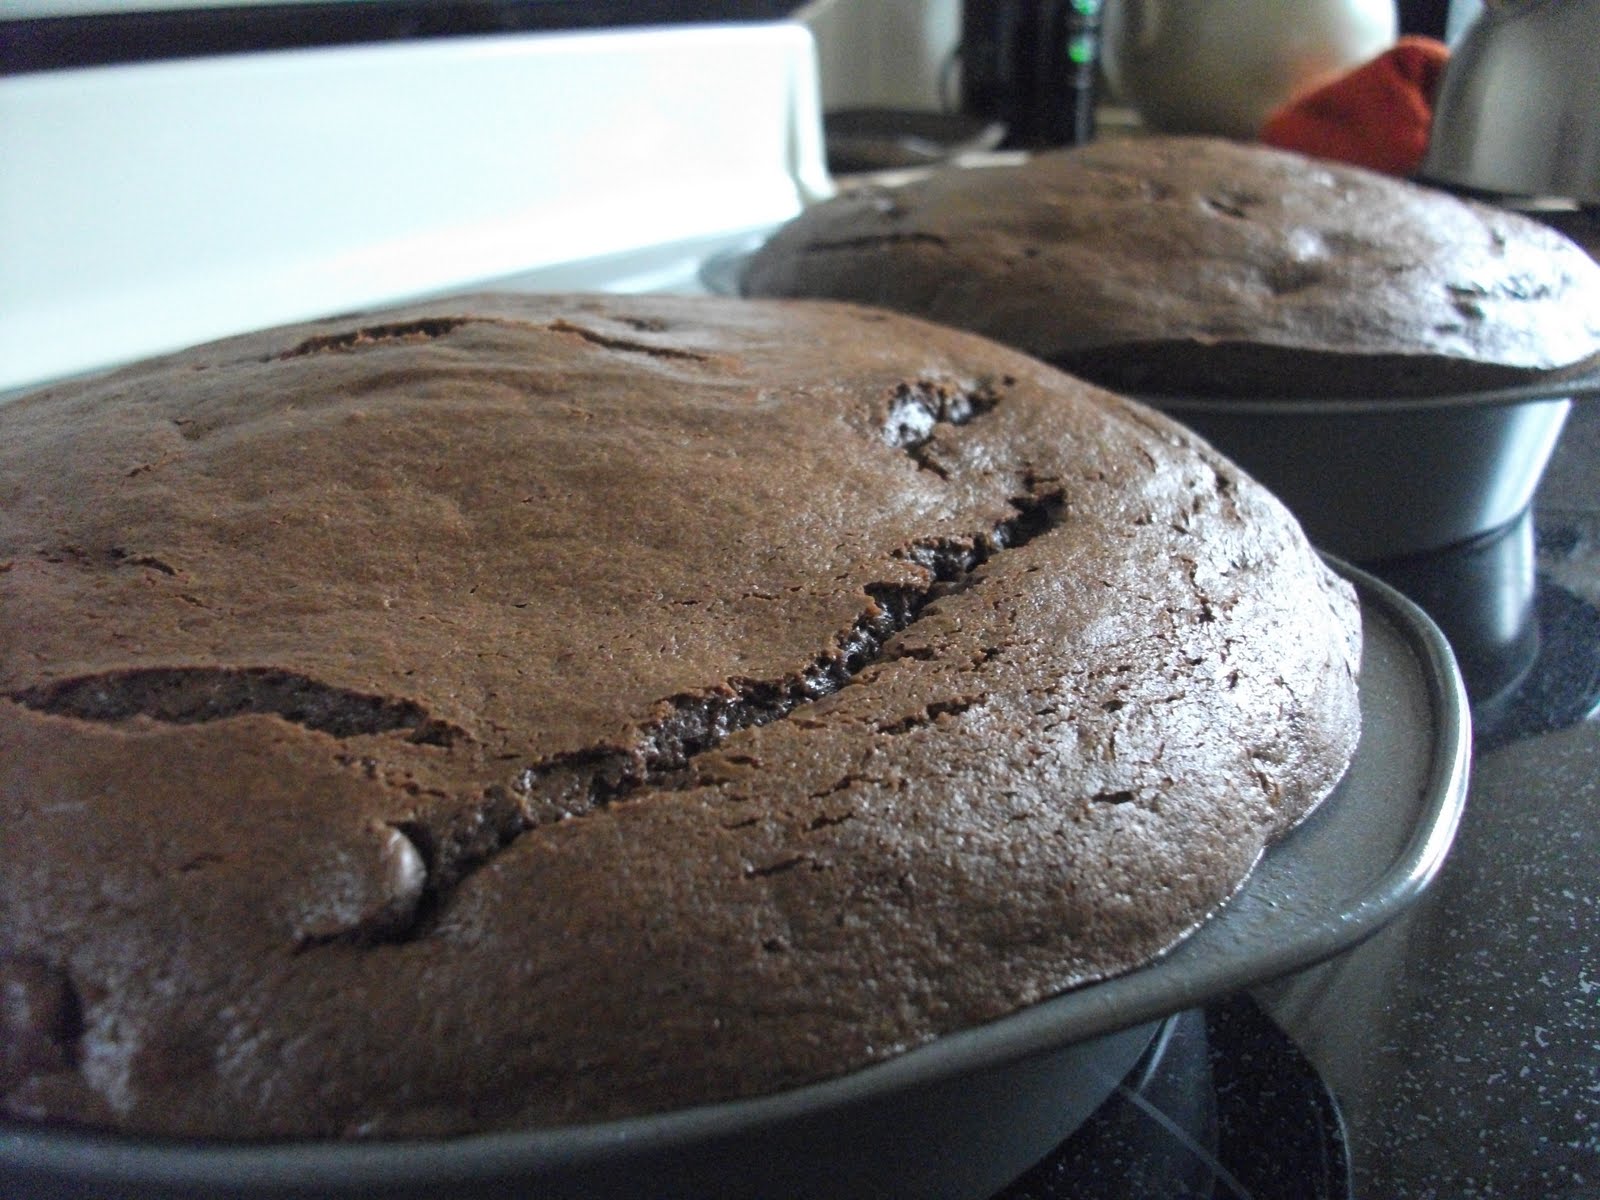
About this time, I was second guessing the "8-inch" pans that were suggested in the recipe. 
 Seems like an awful lot of batter to me...


Yup.  Next time I will bake in 9-inch pans.  This will prevent the "muffin top" look that you see above.  
 Now this is where I deviate from the recipe.  It says to leave cake "in the pans" for at least 30 minutes before transferring them to the cooling rack to cool completely.  Well... My experience is that this only leads to dry cake.  See, the cake continues to bake while it's in the pan.  This is fine if you're the kind of person who takes the cake out before it's really ready.  I personally only use the timer as a suggested guide, and instead let my nose tell me when it's finished baking.  This can be tricky, but the rule for me is:  When the first kid comes to me and says...

" MMMMmmm are you making cake??".. I have about 5 minutes before I need to take the cake out. ;)

I then immediately wrap the cake in overlapping layers of plastic wrap.  Yes, while it is still hot and steamy.  This seals in the heat and condenses the steam back into the cake, creating a moist cake no matter how much you've over baked it... well, within reason,  I mean c'mon, if you burn it... it's burnt.
Next put both layers in the freezer.  Yes, the freezer.  Ever try to frost a fresh cake?  One word.  CRUMBY. For three years I worked in a bakery and learned a few tricks about decorating cakes.  First lesson. It's much easier to frost a frozen cake than a fresh one.  I like to make my cakes at least a day in advance.  
Before frosting, I needed to de-muffin my cakes.  I used a serrated knife and just cut off the cake that was sticking out to make two round layers.
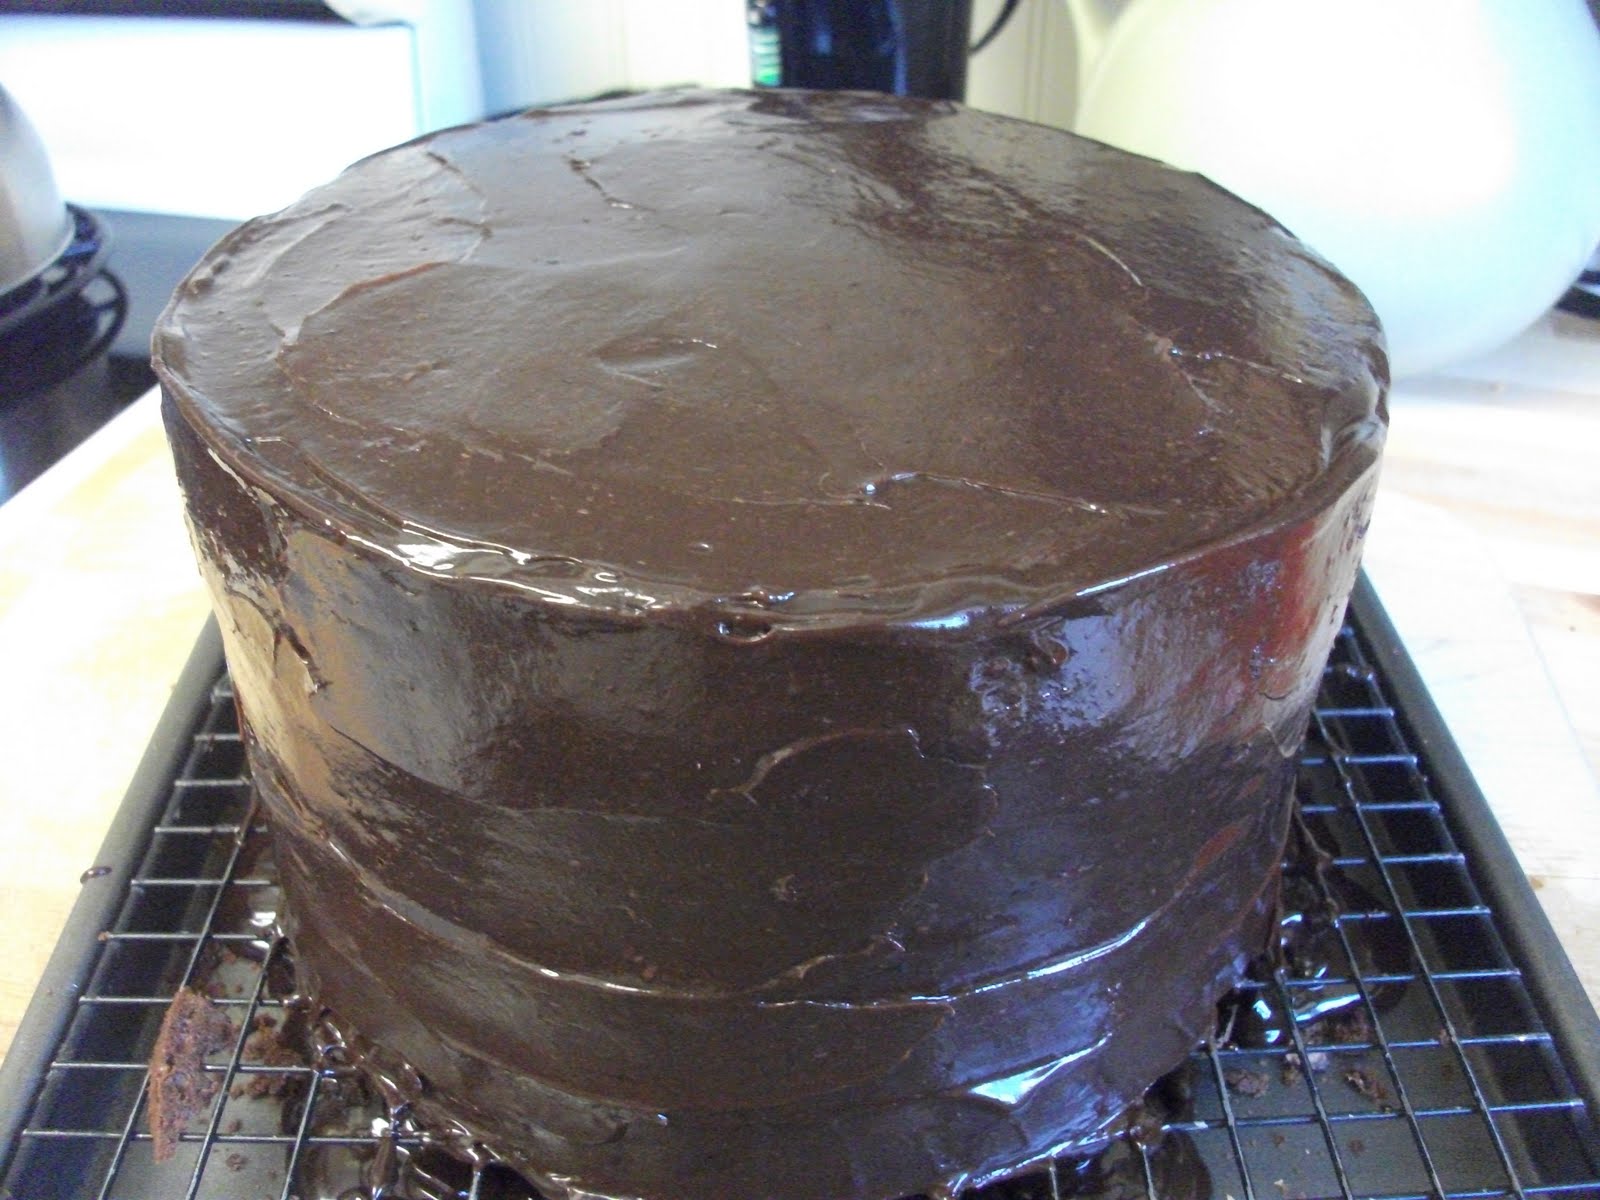
I have never made, used, or eaten ganaache before... oh what I have been missing!!  I will use this easy peasy frosting again for sure!  The corn syrup gives it a beautiful shine that butter-cream, whipped cream, and fondant just can't give.  Plus, it's just plain YUMMO!

So because this was a cake for a friend's birthday, I didn't decorate the top with nuts like the blog suggests.  I mounded deep purple and lavender roses in the center and used chocolate butter-cream to decorate the edge.  


The cake is sitting on a piece of cardboard saved from a frozen pizza and covered in foil.
The doily is a paper doily that I get from walmart in the cake decorating section

My buttercream recipe for roses is extremely simple... in fact I don't even measure the ingredients out!
Powdered sugar
shortening
milk
rum flavoring
almond flavoring
I listed the ingredients in order of amount.  Obviously, you want more powdered sugar than anything... Say, half a bag?  About a 1/4-1/2 cup shortening and add the milk a tablespoon at a time, probably 3-4  You want this frosting to be a bit stiff if you're intending to use it for flowers.  The important ingredients are the flavorings.  They make all the difference.  Just a dab'll do ya!
I have to say, this was a very tasty cake and I will most definitely be making it again!!
Oh yea, and...
Happy Birthday, Sarah! ;)

Thursday, May 19, 2011

Braggin' on My Baggin'

Okay, I admit the title is lacking... but the bag makes up for it ;)

I found this free crochet pattern on ravelry.com by "Chocolate Mints In a Jar"... seriously, that is her screen name.  It is sooo cute and a very well written pattern. Find her craft blog here.  Find the pattern here

I started and finished this bag in two days... and it should have only taken one, but I FROGGED so many times.. ugh, it wasn't pretty. For anyone who might not know what "frogging" means to those of us in the yarn world:  What does a frog say?  "RIP IT, RIP IT, RIP IT"... so that's what we call pulling out several rows of stitches. Cute, no?... yeah, but not when it's happening.  First it was miscounting, then it was adding stitches instead of slip-stitching... then after I had frogged the bag to the base TWICE already, I realized how big of an impact one little four letter word has in a pattern.  TURN.  Ugh, I didn't turn after each round, I just stitched in a round...  That was why my count kept getting off.  Facepalm!

Well, I was about ready to croak when I discovered this huge mistake... but I decided instead of dissecting the bag, I would try to compensate for my mistake. I will explain how I did that on my ravelry.com account for anyone who might actually be interested.  But really, my advice is just to follow the pattern!

In the end, I really like the finished product.  Perfect or not, it will serve me well.  It's just the right size for a book or two, couple of magazines, a phone, some eyeglasses (for us aging folk).  It would also be great to put my Bible in for church on Sundays.

I'm happy with the color choice, and I think I'll make a couple more--the right way-- in different color combinations. ;)

If you'd like to find me on ravelry.com, my screen name is "Iowaycrochet" :)

Wednesday, May 18, 2011

My New Garden Cart

So for Mother's Day I usually get some great garden type gifts.  This year was no exception. It's no secret that I love to be in the garden, but I don't like having to dump my 4 cu. ft. cart a bajillion times a day.  Not too long ago I started researching carts for the garden that were a bit larger and more efficient than the one I currently have.  In the end my dear sweet honey, who isn't so fond of yard work, decided to get me the deluxe model (in my opinion) of a garden cart for mother's day.  It reminds me of the cart my dad uses, only his is even BIGGER!
So here are some pictures of my garden cart.  Some assembly required ;)
Everything came in that cardboard box.  I ordered this cart from Amazon.com and within the week, I had my cart.  Awesome!

The boards are plywood and the wheels are solid.  Yea! no worrying about blowing out a tire.

Yes, I'm one of those people who has to check all the hardware and parts to make sure nothing is missing.  My husband has influenced me greatly. :)

This is what is should look like...


Thank You!!
Here's who's gonna make it happen. 

So here it is posing in the "driveway garden".  You can see all my "stuff" that I can tote around now. 

My babies.  

Now we're talking.  With my other cart, this would have been two loads, easy.  But here you can see the new cart isn't even half full!
LOVE IT!