Monday, May 28, 2012

Seth's Roasted Cauliflower

So a certain little redhead in my life gave me the idea to post my roasted cauliflower "recipe".  Who knew a one year old would be so gaga for cauliflower?


This is my favorite way to eat cauliflower. Yum.

Heat up your oven to 400
Just wash and cut up into bite-sized pieces one head of cauliflower.


I put mine on a cookie sheet that has edges.
Don't lose any of those little bits.  They are the best!


Spray with canola spray and lightly cover with garlic and Parmesan cheese.  Toss that so that all the cauliflower is coated and put into the oven for 20 minutes or so.  You are welcome to toss the cauliflower around half way through baking in order to get it evenly brown, but I'm pretty much too lazy for that. ;)


Take out  the cooking sheet and let the cauliflower cool a bit.  One head of cauliflower fed one 41 year old and one 1 year old, so that tells you how much we liked it.

I use my large oven for cauliflower, but I use my toaster oven for roasting other veggies like zucchini, cut up peppers, mushrooms and vidalia onion slices.  I'll even do a mixture of veggies on one tray.  The toaster oven doesn't heat up the house like the big oven, but it also doesn't hold as much food.

I love taking these veggies and putting them over a bowl of rice, adding some soy sauce. Tada, lunch.

Thursday, May 24, 2012

All is Vanity.

Each of the upstairs bedrooms in the Parsonage at St. John's has a dormer window complete with a window seat.  I  just love that about this house.  I use the one in the master bedroom as my personal vanity.  Unfortunately, my "vanity" is often neglected.


One of my problem spots was the storage of my jewelry.  I use the term "jewelry" loosely here, as not much of what I own is of any real value to anyone else but me.  No matter, it still doesn't deserve to be thrown into a heap at the bottom of a glad food storage container.  Mostly I end up with unmatched earrings and tangled necklaces.   
I decided something needed to be done.

I have taken some ideas from Pinterest and used them as a guide to customize my vanity area.  Here's some of the things I did... all on a strict budget, of course.


I found a few things at Goodwill and a couple other local thrift stores that looked promising.  One rule of thrifting... if it moves you, and it's the right price- buy it.  You don't have to have a purpose for it right then. 
(Don't tell my husband I told you that!)
 I often bring home pieces of junk that I have no clue what to do with them.  Focus on shape remembering that nearly anything can be spray painted.  
Here are a few of my thrifty finds cleaned up and freshly painted... or not.
Anyone  born pre 80's should recognize this lovely.
We had one in fashionable burnt orange when
I was a kid.  It's a mug holder turned bangles hanger.
I didn't even bother to paint it.  


This was a brassy mirror tray that I spray painted and
 now use to show off my lotions and potions.
This is another simple silver tray that I spray
 painted. I use shower curtain clips to hold it
onto my cafe rod.  The hooks are magnetic.
This is where I say, if you like the shape buy it.
I have been collecting glass bottles and jars for a while
with no idea as to what I would use them for.  Well, add
some candle sticks and voila,  you have great makeup
storage for the vanity area.  I used coffee beans in one vase
to hold my makeup brushes.
Oh and a cheap silver tray spray painted perty.


This piece gave me a bit of trouble.  I really
wanted something on which I could easily
remove and replace my earrings.  I looked
into purchasing some decorative tin, but it
 was so costly for a small piece that I
wandered around Home Depot searching
 for something else that might work.  I ended
up in the painting area and bought this paint
dripping grid.  $3??  SOLD!!
Bonus was that it came with bent ends to
hang easily over the cafe rod.
Just as an added fun thing.
I use my exercise ball
as a vanity chair.  It's the perfect
height and works great!


So this is the cafe rod I keep mentioning.  I think I paid $10 for it at Walmart.
Which is quite pricey for my standards, but I hadn't had any luck for a while
finding one at a thrift store, so I finally bit the bullet and bought it new.
You can see how nicely it extends and helps to keep my jewelry organized.
It really is worth the $10. 

Wednesday, May 23, 2012

Rhubarb Recipes

It's that time of year.  Rhubarb time.

I grew up in California.  No, not the sun drenched beaches of southern California.  I grew up in the Central Valley, due east of San Francisco, where all the produce is grown.  I was spoiled with freshly picked produce at farmer's stands all through my childhood from asparagus to zucchini.  My dad was gardener as well, so I know what it is to have a fresh supply of vegetables at the dinner table.  So you can see why it astounds me that I had to come to the midwest to get my first taste of rhubarb.

Well, the day someone from our church here in Iowa handed me a recycled Wal-mart bag filled with the celery look-a-like, I smiled, said thank you and promptly went home to google it.  What was this stuff?

The greatly coveted church cookbook


Not long after, I managed to get my hands on a most precious item, the St. John's cookbook.  Ahhh, this was the answer to my rhubarb dilemma.  Sure enough, rhubarb recipes galore.  I did notice one thing about all the recipes... quite a bit of sugar!


Emily's Favorite Rhubarb Cake:

Found in St. John's cook book page 88
1pkg white or yellow cake
1c. sugar (I leave the sugar out because I use a larger box of jello)
2 to 4c. diced rhubarb
1 6oz. pkg any red jello (but c'mon, strawberry is the way to go!)

Mix one package  yellow or white cake mix according to package directions.  Pour into greased and floured 9x13-inch pan. (I find that it's too much for my basic pan, so I use my large Pampered Chef rectangular baker).  Sprinkle rhubarb over top and sugar over top of rhubarbThen sprinkle red jello over all.  Bake at 350 until done, about 50 minutes.


 Another invaluable rhubarb recipe resource has been other ladies in the church.  Here is a recipe from my friend, Deanna.  This one is my personal favorite.

Aunt Mena's Rhubarb Dessert:

Crust:
1 c. flour
5 T. powdered sugar
1 stick melted butter

Mix these together and spread in the bottom of a 9x13 pan.
 Bake at 325 degrees for about 15 minutes.


While the crust is baking, mix together the following ingredients:
1 and 1/2 c. sugar
1/4 c. flour
3/4 tsp. salt
2 eggs beaten

Just before the crust is ready to come out of the oven, mix in 2 cups chopped rhubarb into the egg mixture.  Pour the rhubarb/egg mixture over the crust (carefully!) and return it to the oven to bake at 325 degrees for 25-35 minutes.


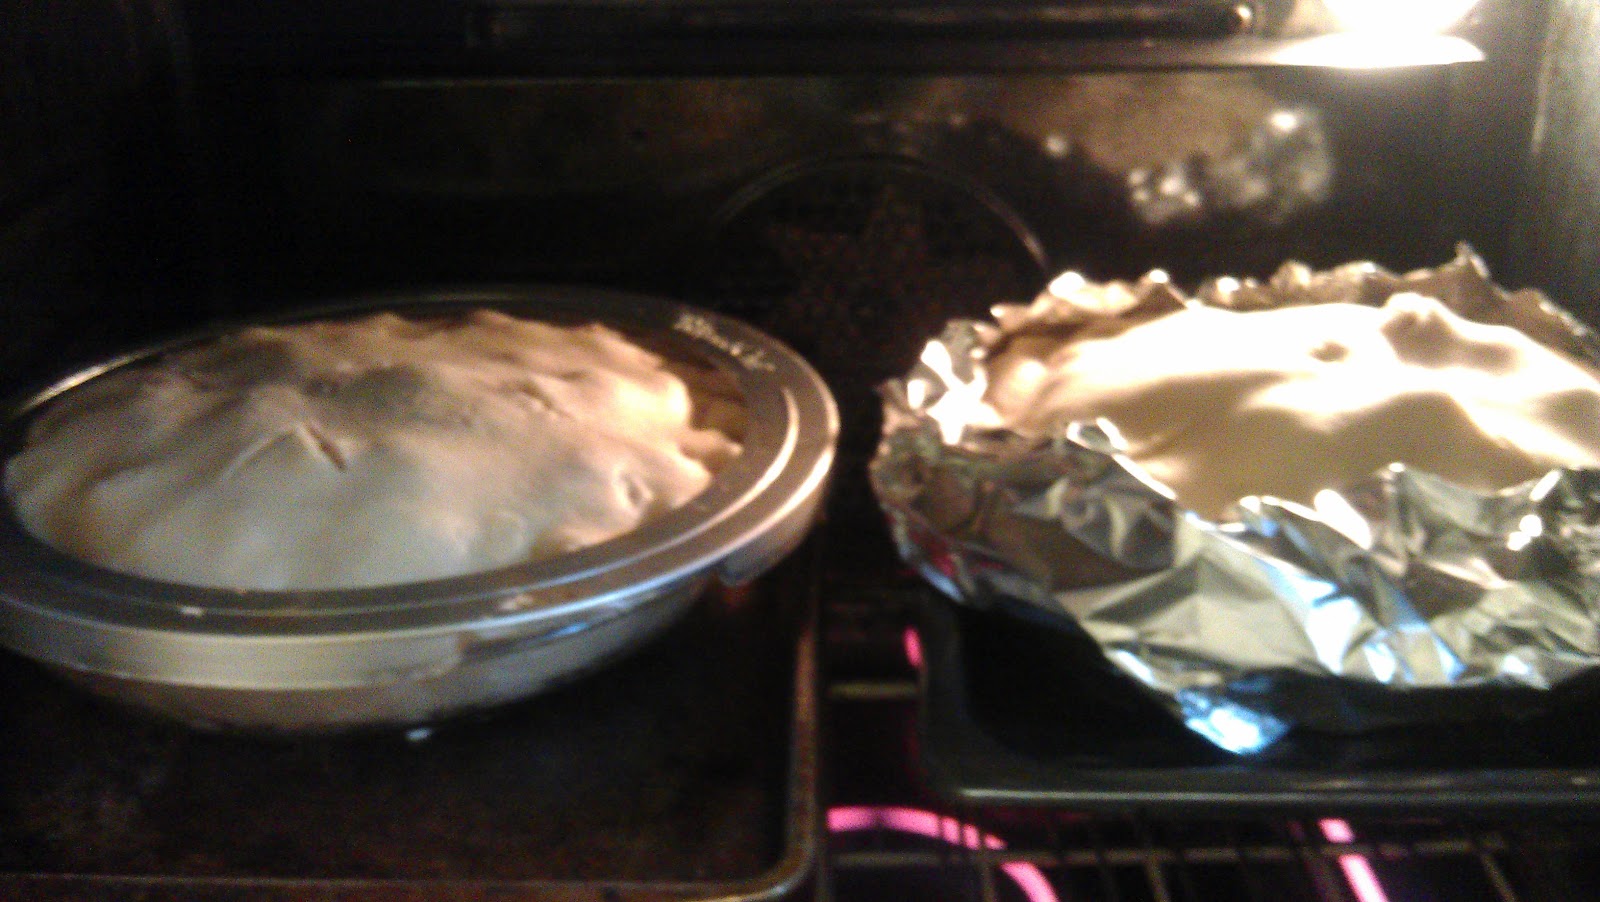
No well respected Midwesterner would neglect to include the ever popular strawberry/ rhubarb pie.  I actually had enough rhubarb to bake not one, not two, but yes, three pies in addition to the afore posted recipes.  That was a lot of rhubarb!
My recipe comes from Betty.  :)
I made the crust using her tried and true recipe for a 9 inch two crusted pie.
2/3 cup plus 2 TBS shortening or 2/3 cup lard
2 cups flour
1 tsp. salt
4-5 TBS cold water.

Here's the filling:
1 1/3 - 1 2/3 cups sugar
1/3 cup all purpose flour
1/2 tsp grated orange peel (this really makes the pie in my opinion)
2 cups cut up rhubarb
2 cups cut up strawberries
2 TBS margarine or butter

Heat your oven to 425. Make the pastry by cutting shortening into flour and salt. Mix in water one tablespoon at a time until dough forms a ball.  Split your dough in half and roll it out for the bottom shell.  Mix all the filling ingredients except the cut up fruit.  Put half the rhubarb and half the strawberries into the pastry-lined pie shell.  Sprinkle half of the filling mixture over the fruit.  Put the last of the fruit in the pie and again, sprinkle the dry filling over the pie.  Dot with margarine or butter. Roll out the remaining dough and lay it over the fruit to cover.  Cut some slits into the top crust, seal and flute the edges.  Use a pastry shield or foil to cover the edge to keep it from browning too quickly.  You'll remove that 15 minutes before pie is finished baking.
Bake until crust is brown and juice begins to bubble through slits in crust... about 40-50 minutes.  It would be wise to put pie(s) on a edged cookie sheet in case the juices spill over. 

 There ya go, easy as... well, pie.