Showing posts with label cake. Show all posts

Saturday, April 20, 2013

Let Them Eat Cake

Yes, there are worse things in this world than a dry cake... but not many.
Here is a trick for always having a moist cake.

1.  Bake your cake.  Doesn't matter if you use generic boxed mixes or make it from scratch.  
BUT...Don't bake it quite as long as the package/recipe suggests.  Set the time for 5-7 minutes shy of the shortest cooking time.  Then... smell.  If your stomach growls because your nose has detected a cake baking, then you have about 4 minutes left.  

2.  Take the cake out of the oven.  If the center giggles, you need to leave it in for another couple of minutes.  
     You are welcome to test the done-ness of the cake with a knife or toothpick, but don't freak out if it  doesn't come out completely clean.  As long as it isn't still batter, you're fine.  Trust me.  

3. Now for the best part.  Spread out two overlapping layers of plastic wrap.  The idea here is that you will completely encase the hot cake in plastic wrap.  Don't wait for the cake to cool.  Loosen the edges up with a knife if you need to and plop the cake out onto the plastic wrap.  If you're using layers, do the next one the same way.

4. Freeze.  I put my layers on a cutting board and put it in the freezer.  Lay the cakes upside down and that little "dome" that happens gets flattened a little bit.

Basically, my theory is that the cake continues to bake a little even after it has left the oven.  That's why you don't wait until it the toothpick comes out clean.  However, even if you over bake your cake, sealing it in plastic wrap while it's still hot and putting it immediately into the freezer, causes all that steam to remain in the cake instead of escaping and causing the cake to dry out.  Think about what happens to sliced bread when you leave it out... it dries up the longer it is exposed to air.  

So, why the freezer? Because it is much easier to frost a frozen cake than a fresh one.  They don't need to be thawed.  In the time it takes you to frost and decorate the cake, it will be ready to slice and eat.   

Freezing your cakes ahead of time also means that you don't have to bake AND decorate the same day.  You can make your cake up to a week ahead of time if you want.  I wouldn't leave a cake in a freezer longer than a week simply because it will begin to absorb the smells of other foods that are stored in your freezer.  And I don't know about you, but Tilapia cake doesn't sound too appetizing.  :/ 

So try it and let me know how it turned out.
Sallie

Wednesday, May 23, 2012

Rhubarb Recipes

It's that time of year.  Rhubarb time.

I grew up in California.  No, not the sun drenched beaches of southern California.  I grew up in the Central Valley, due east of San Francisco, where all the produce is grown.  I was spoiled with freshly picked produce at farmer's stands all through my childhood from asparagus to zucchini.  My dad was gardener as well, so I know what it is to have a fresh supply of vegetables at the dinner table.  So you can see why it astounds me that I had to come to the midwest to get my first taste of rhubarb.

Well, the day someone from our church here in Iowa handed me a recycled Wal-mart bag filled with the celery look-a-like, I smiled, said thank you and promptly went home to google it.  What was this stuff?

The greatly coveted church cookbook


Not long after, I managed to get my hands on a most precious item, the St. John's cookbook.  Ahhh, this was the answer to my rhubarb dilemma.  Sure enough, rhubarb recipes galore.  I did notice one thing about all the recipes... quite a bit of sugar!


Emily's Favorite Rhubarb Cake:

Found in St. John's cook book page 88
1pkg white or yellow cake
1c. sugar (I leave the sugar out because I use a larger box of jello)
2 to 4c. diced rhubarb
1 6oz. pkg any red jello (but c'mon, strawberry is the way to go!)

Mix one package  yellow or white cake mix according to package directions.  Pour into greased and floured 9x13-inch pan. (I find that it's too much for my basic pan, so I use my large Pampered Chef rectangular baker).  Sprinkle rhubarb over top and sugar over top of rhubarb. Then sprinkle red jello over all.  Bake at 350 until done, about 50 minutes.


 Another invaluable rhubarb recipe resource has been other ladies in the church.  Here is a recipe from my friend, Deanna.  This one is my personal favorite.

Aunt Mena's Rhubarb Dessert:

Crust:
1 c. flour
5 T. powdered sugar
1 stick melted butter

Mix these together and spread in the bottom of a 9x13 pan.
 Bake at 325 degrees for about 15 minutes.


While the crust is baking, mix together the following ingredients:
1 and 1/2 c. sugar
1/4 c. flour
3/4 tsp. salt
2 eggs beaten

Just before the crust is ready to come out of the oven, mix in 2 cups chopped rhubarb into the egg mixture.  Pour the rhubarb/egg mixture over the crust (carefully!) and return it to the oven to bake at 325 degrees for 25-35 minutes.


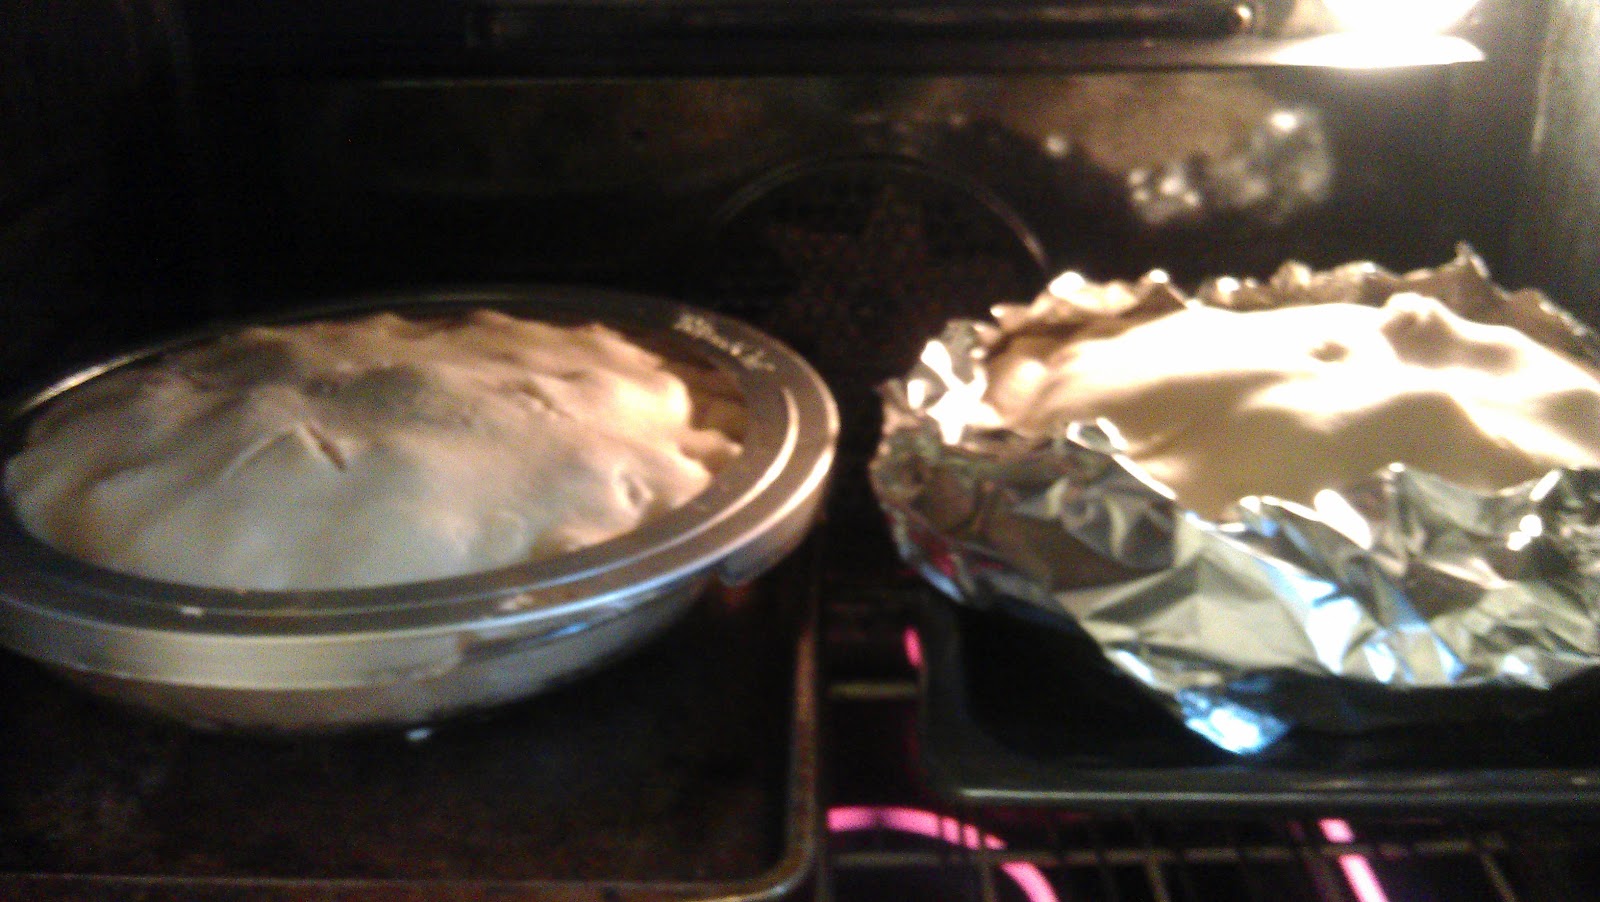
No well respected Midwesterner would neglect to include the ever popular strawberry/ rhubarb pie.  I actually had enough rhubarb to bake not one, not two, but yes, three pies in addition to the afore posted recipes.  That was a lot of rhubarb!
My recipe comes from Betty.  :)
I made the crust using her tried and true recipe for a 9 inch two crusted pie.
2/3 cup plus 2 TBS shortening or 2/3 cup lard
2 cups flour
1 tsp. salt
4-5 TBS cold water.

Here's the filling:
1 1/3 - 1 2/3 cups sugar
1/3 cup all purpose flour
1/2 tsp grated orange peel (this really makes the pie in my opinion)
2 cups cut up rhubarb
2 cups cut up strawberries
2 TBS margarine or butter

Heat your oven to 425. Make the pastry by cutting shortening into flour and salt. Mix in water one tablespoon at a time until dough forms a ball.  Split your dough in half and roll it out for the bottom shell.  Mix all the filling ingredients except the cut up fruit.  Put half the rhubarb and half the strawberries into the pastry-lined pie shell.  Sprinkle half of the filling mixture over the fruit.  Put the last of the fruit in the pie and again, sprinkle the dry filling over the pie.  Dot with margarine or butter. Roll out the remaining dough and lay it over the fruit to cover.  Cut some slits into the top crust, seal and flute the edges.  Use a pastry shield or foil to cover the edge to keep it from browning too quickly.  You'll remove that 15 minutes before pie is finished baking.
Bake until crust is brown and juice begins to bubble through slits in crust... about 40-50 minutes.  It would be wise to put pie(s) on a edged cookie sheet in case the juices spill over. 

 There ya go, easy as... well, pie.


Friday, May 20, 2011

Too Much Chocolate??

Is there even such a thing as "too much chocolate"?? I seriously doubt it.

I came across this recipe for "Almost Too Much Chocolate Cake" online, and I must admit, it hooked me.  I recently made it for a friend's birthday and it really was as good as it looked, but I can hardly say it was "too" much :)

The site I found the recipe on was Make it and Love it.  However, I believe someone else is to be credited as the author/baker.  Either way, this is one recipe that will be repeated in the Pool household.
Find the Recipe HERE

Here is my quest for too much chocolate ;)

I followed the recipe and found the batter to be really rich and thick.  This was great as I was concerned that the chocolate chips might fall through a thinner batter.  This way, they will stay in the center and not sink to the bottom of the cake pan when baking. 


 One thing I recommend: weigh your cake pans as you fill them. 
 This ensures that you will have evenly sized layers.  


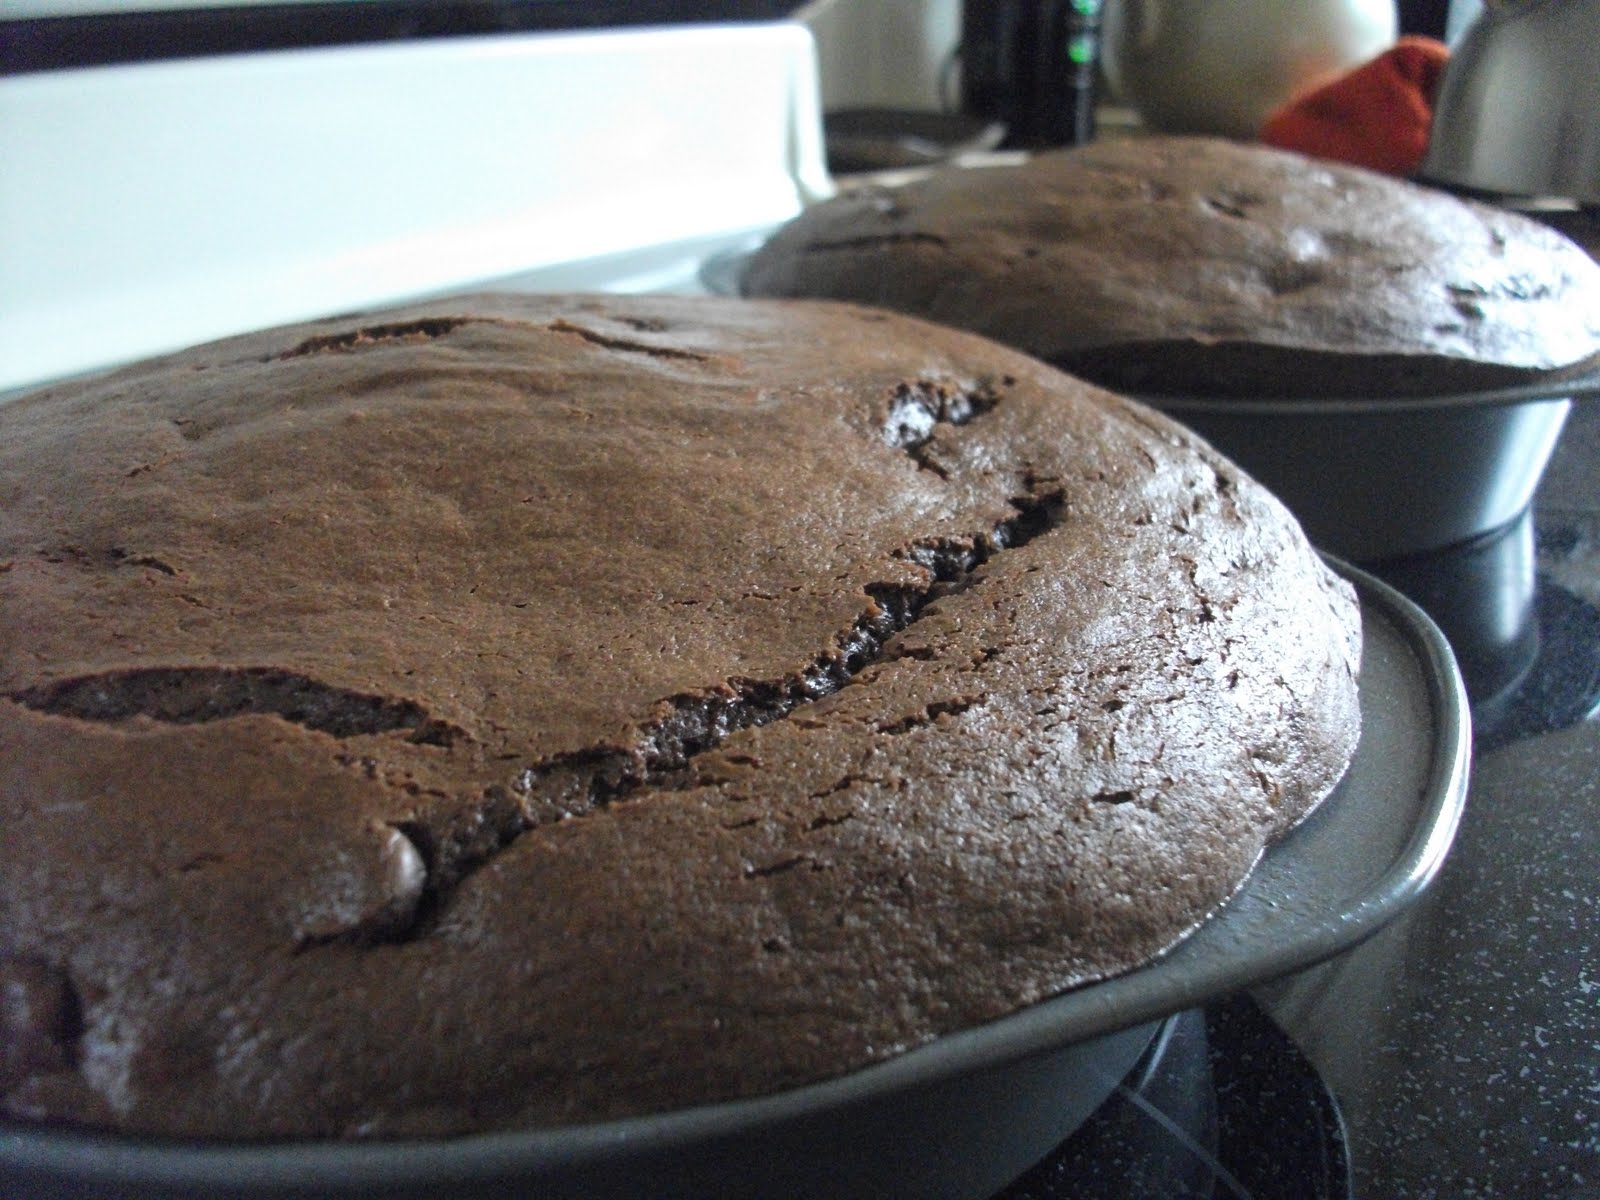
About this time, I was second guessing the "8-inch" pans that were suggested in the recipe. 
 Seems like an awful lot of batter to me...


Yup.  Next time I will bake in 9-inch pans.  This will prevent the "muffin top" look that you see above.  
 Now this is where I deviate from the recipe.  It says to leave cake "in the pans" for at least 30 minutes before transferring them to the cooling rack to cool completely.  Well... My experience is that this only leads to dry cake.  See, the cake continues to bake while it's in the pan.  This is fine if you're the kind of person who takes the cake out before it's really ready.  I personally only use the timer as a suggested guide, and instead let my nose tell me when it's finished baking.  This can be tricky, but the rule for me is:  When the first kid comes to me and says...

" MMMMmmm are you making cake??".. I have about 5 minutes before I need to take the cake out. ;)

I then immediately wrap the cake in overlapping layers of plastic wrap.  Yes, while it is still hot and steamy.  This seals in the heat and condenses the steam back into the cake, creating a moist cake no matter how much you've over baked it... well, within reason,  I mean c'mon, if you burn it... it's burnt.
Next put both layers in the freezer.  Yes, the freezer.  Ever try to frost a fresh cake?  One word.  CRUMBY. For three years I worked in a bakery and learned a few tricks about decorating cakes.  First lesson. It's much easier to frost a frozen cake than a fresh one.  I like to make my cakes at least a day in advance.  
Before frosting, I needed to de-muffin my cakes.  I used a serrated knife and just cut off the cake that was sticking out to make two round layers.
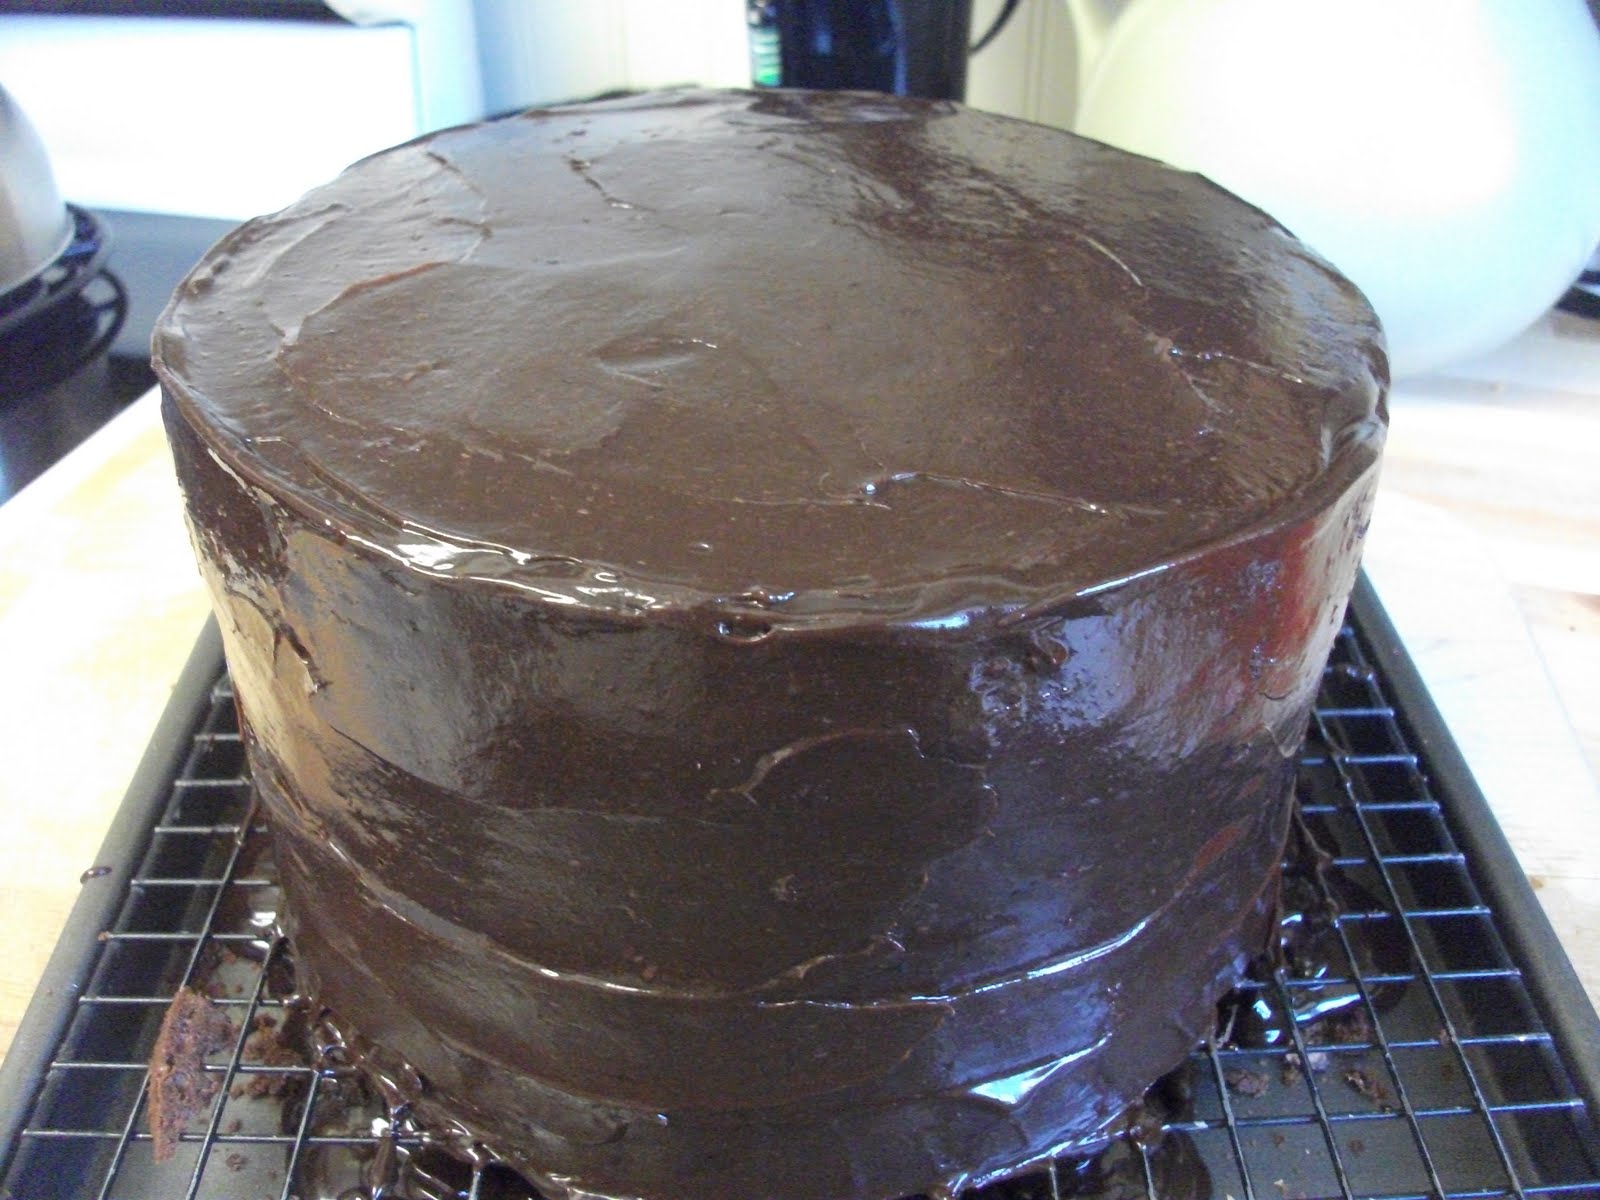
I have never made, used, or eaten ganaache before... oh what I have been missing!!  I will use this easy peasy frosting again for sure!  The corn syrup gives it a beautiful shine that butter-cream, whipped cream, and fondant just can't give.  Plus, it's just plain YUMMO!

So because this was a cake for a friend's birthday, I didn't decorate the top with nuts like the blog suggests.  I mounded deep purple and lavender roses in the center and used chocolate butter-cream to decorate the edge.  


The cake is sitting on a piece of cardboard saved from a frozen pizza and covered in foil.
The doily is a paper doily that I get from walmart in the cake decorating section

My buttercream recipe for roses is extremely simple... in fact I don't even measure the ingredients out!
Powdered sugar
shortening
milk
rum flavoring
almond flavoring
I listed the ingredients in order of amount.  Obviously, you want more powdered sugar than anything... Say, half a bag?  About a 1/4-1/2 cup shortening and add the milk a tablespoon at a time, probably 3-4  You want this frosting to be a bit stiff if you're intending to use it for flowers.  The important ingredients are the flavorings.  They make all the difference.  Just a dab'll do ya!
I have to say, this was a very tasty cake and I will most definitely be making it again!!
Oh yea, and...
Happy Birthday, Sarah! ;)